How to Take Pro-Quality Photos On Your Instax Camera
Many people think of instant film cameras as childish or toy-like. Those cameras are just for tweens taking blurry photos to post to their TikToks, right? No so. In the photographic world, instant film has a storied history. According to the Smithsonian, major photographers and artists like Andy Warhol, David Hockney, Ansel Adams, and Walker Evans all used instant film. Many pros revere instant film for the immediacy, intimacy and candid quality of the images the format allows.
As a professional photographer, I often shoot on instant film. Today’s Instax cameras are awesome, and many draw on some of the same Polaroid technologies employed by the 20th century’s major photographers. Using these cameras can be hard, though. To keep their costs down and optimize Instax cameras for the kinds of close-up portraits they’re often used for, Fujifilm has had to make some fascinating compromises in designing Instax cameras. Knowing about these tradeoffs, limitations and possibilities makes it way easier to take great photos on today’s instant cameras.
For that reason, I’ve just launched a new course on Skillshare that shares a ton of things I’ve learned over the years taking (and sometimes selling) pro-quality photos using Instax cameras.
You can check out my class on using Instax cameras by clicking here!
The course goes into a bunch of detail about all aspects of my process. It’s free to watch if you’re already a Skillshare member, too. I’ve added a project to the course which involves shooting your own Instax photos — if you upload them via Skillshare I’ll do my best to provide personalized feedback.
Here are some of the things the class covers, and some of my techniques for taking pro-quality Instax photos.
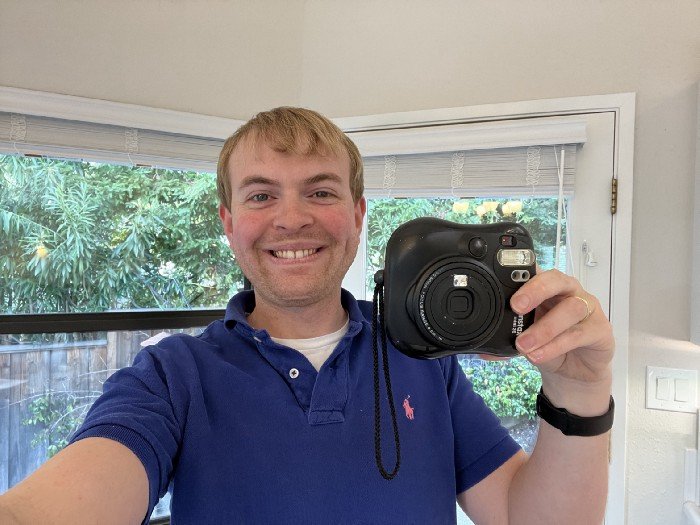
Choose the Right Camera
There are a ton of Instax cameras out there on the market right now. Most are inexpensive, which makes Instax a great format to try out if you’re interested in getting into analog film photography.
Your first choice will be which Instax format you want to use. There are three:
Instax Mini: The “classic” Instax format. These prints are about the size of a credit card. The film is cheap since this is the best-selling Instax format and the film itself is relatively small. You can do a ton with these little photos.
Instax Wide: There are only a handful of Instax Wide cameras out there. They take photos that are about double the size of an Instax Mini. These are great when you want a lot more detail in your images. Instax Wide is a seriously big format. These cameras are often employed by professionals in other fields, like doctors wanting to take a quick photo of a skin condition, or people adding photos to personnel files (also for headshots).
Instax Square: These mimic the classic square format of a Polaroid, and also the popular square format of apps like Instagram. I love Instax square photos, although they’re still a bit pricier to shoot than Mini.
My class goes into more details about all these, but for the lessons, I focus on the Instax Mini format, since it’s the most accessible and cheapest to shoot. You can often walk into a pharmacy and get a pack of Instax Mini film.
Once you’ve chosen a format, you need to choose a specific camera. Most Instax mini cameras run less than $100.
You can check out my class on using Instax cameras by clicking here!
Get Focus Right
Getting the focus right is one of the toughest things for new Instax photographers to master. Why? We’re all used to autofocus systems on DSLRs and modern phones, which measure the distance to our subjects and dial in the focusing point perfectly.
Instax cameras are cheap and largely mechanical. They can’t handle the complexity of autofocus, or even a user-focusable lens. So instead, they make the same tradeoff that inexpensive consumer cameras made in the mid 20th century, and disposable cameras make today — they use a zone focusing system.
Basically, these cameras use sensitive film (Instax is 800 ASA) to soak up light, a super tiny aperture (F 12.7) to ensure a good depth of field, and a lense that generally has at most three focusing zones, and often only two zones. If you choose the right zone for the subject you’re shooting, you’re golden, and your photo will come out crisply focused. Choose the wrong zone, and it will look blurry — especially if you’re shooting subjects that are more than about 9 feet away from you.
Have you ever taken an Instax photo of a far-off mountain, and found that it looked kind of blurry? You probably chose the wrong focusing mode. My class goes into a lot more detail, but basically, you want to select the Macro mode for subjects closer than about 3 feet, the default setting for subjects between 3–9 feet from you, and the Infinity mode for subjects more than 9 feet away. It’s simple, but often overlooked: choosing the right focusing zone is essential to shooting great Instax photos.
Achieving a Balanced Exposure
Getting the exposure right on Instax can be tough, too. It’s all too easy to take photos that are too dark (you can take ones that are too light, also, but film’s natural exposure curves make it easier to preserve highlights than shadows). That’s especially true if you’re shooting indoors or in darkness, and your subject is beyond the range of the camera’s flash (which is about 9 feet, set up to correspond with the focus zones I mention above).
Luckily, Instax cameras have a few features that allow you to tweak the exposure. Many have exposure compensation modes that allow you to darken or lighten your photo. And most cameras has fairly capable flashes that work well, assuming you position your subject appropriately and know what lighting conditions will require a flash.
My course goes into more detail here, and I also share some examples of underexposed or overexposed Instax photos and how to correct exposure issues. Essentially, though, you’re best off using your Instax camera in:
Bright sun or light shade
OR a setting where your subject is between 3–9 feet from you, with the flash on
OR shadier conditions with a filler flash or exposure compensation
You can check out my class on using Instax cameras by clicking here!
Sharing Your Instax Photos
The final thing I talk about in my class is how to share Instax photos, and how to preserve them for the future. There are several solutions here:
Position them in a cool environment and photograph them with your phone’s camera. This is especially nice for sharing on social.
Scan then using the Notes app on your iPhone or Google Photo Scan to get glare-free scans of a decent quality
For archival purposes (or to sell an image), scan with a flatbed. I like the Epson Perfection V850 although it’s pricey
Here’s how an Instax photo positioned in a cool environment looks:
Photo courtesy Thomas Smith
Check It Out
Following these techniques, it really is possible to take pro-quality Instax photos. I’ve sold several of my own Instax photos to a variety of buyers. Am I getting rich off Instax prints? No. But it’s cool to know that these instant prints really are serious and saleable.
To learn more about taking Instax photos, please consider checking out my course on Skillshare. It’s nearly half an hour of hands-on instruction, so I get to go into a ton more detail about everything I’ve covered here. I also share some specific techniques for different photographic styles: portraits, landscapes, nature shots, etc.